Installing Flooring Over Gypcrete: A Contractor's Guide to Gypsum Underlayment
How to install flooring over gypcrete (gypsum underlayment) in multifamily projects — substrate prep, moisture testing, primers, and ADA-compliant transitions, from a contractor with 40 years on gypcrete systems.
The problems with gypsum underlayment don't show up during installation. They show up at the final walkthrough when door transitions don't meet ADA compliance — or three months after occupancy when vinyl planks start popping up because moisture testing was skipped.
What is gypsum underlayment?
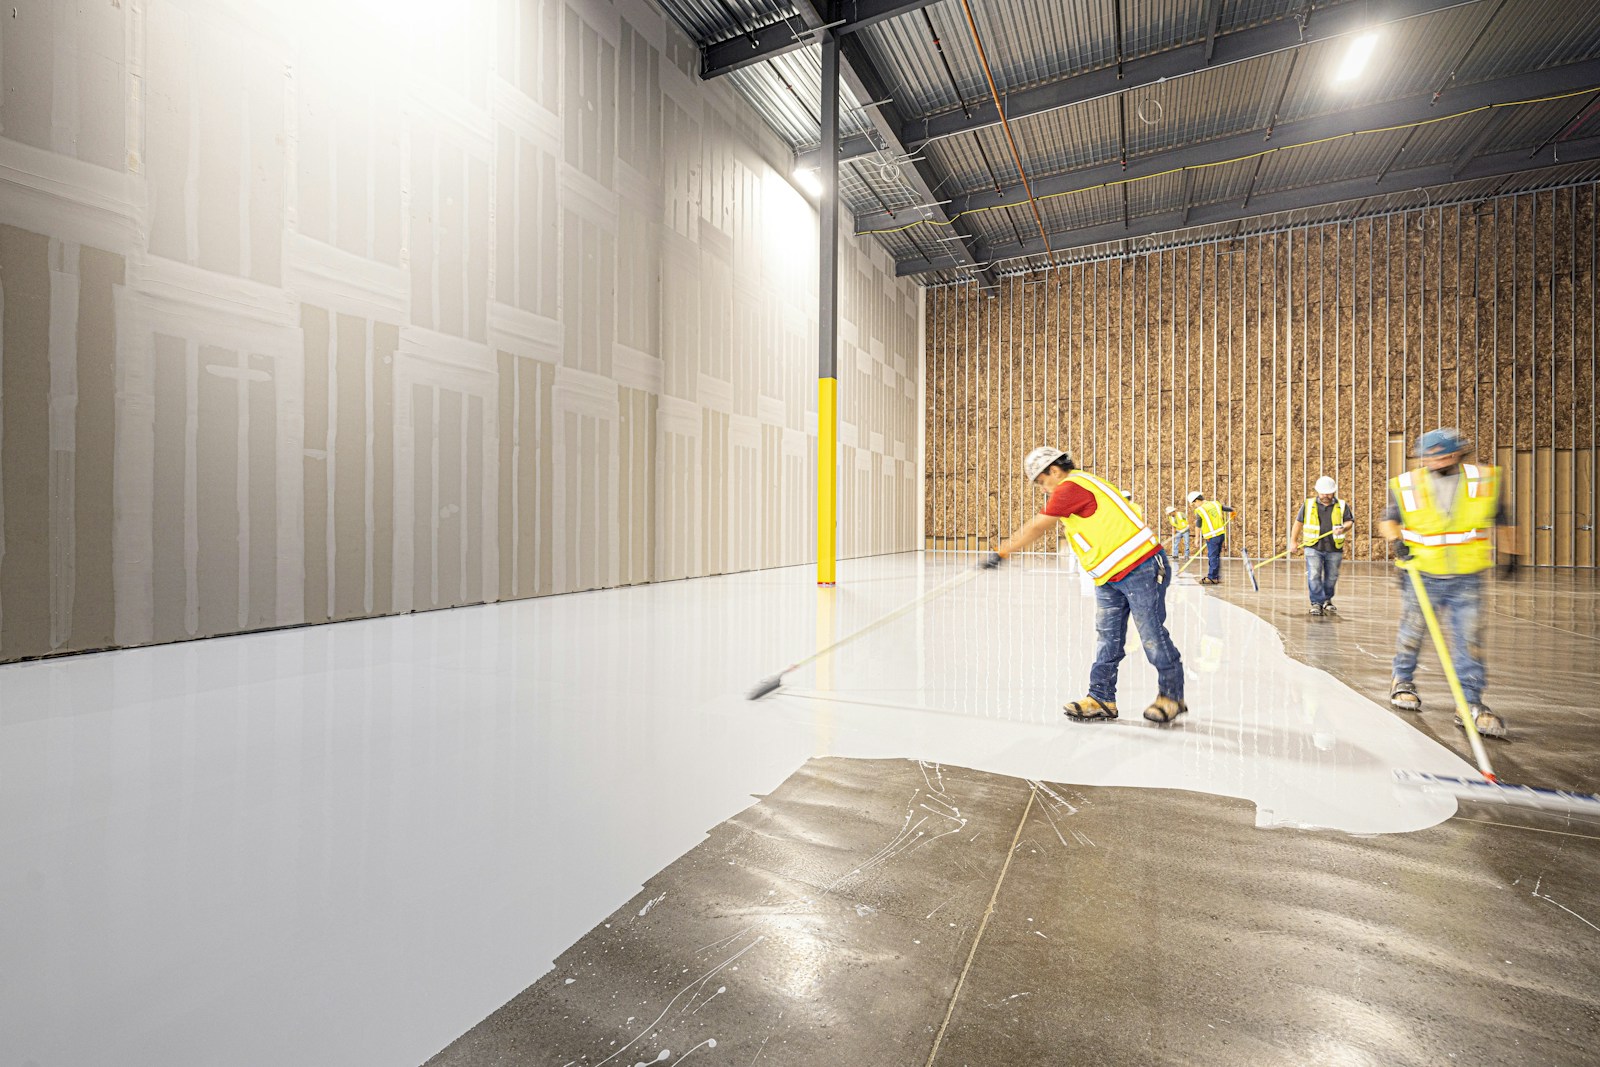
Gypsum underlayment goes by different names in the field. Most contractors call it gypcrete — Maxxon's brand name — though you'll also hear gypsum concrete or gyp-crete. Whatever you call it, it's a poured, self-leveling floor system that goes over structural concrete or wood subfloors.
The material is gypsum cement mixed with aggregates and additives. Pumped onto the deck, it flows across the surface to level, and sets into a solid substrate. Thickness typically ranges from ¾" to 2" depending on structural conditions and system requirements.
Why multifamily construction uses it
The installation sequence
Why timing matters for flooring contractors
Gypsum underlayment installs after framing, mechanical rough-in, and electrical — but before most interior finishes. That timing creates coordination requirements that directly affect what we do when we arrive with flooring weeks later.
The structural deck is cleaned, primed, and fitted with perimeter isolation strips before the pour. Isolation strips prevent the gypsum from bonding to walls and columns so the floor system moves independently from the structure.
The door frame sequencing problem is the single most common issue we encounter on gypcrete projects. Frames installed before the pour sit low. Frames installed after cure sit high. Both conditions create ADA transition conflicts — and both become our problem to solve, despite having no control over how they are placed.
ADA compliance & threshold transitions
The ADA specifies that floor surface height variance cannot exceed ½ inch without a compliant transition. Patio door assemblies and aluminum thresholds routinely exceed this limit when door frame installation isn't coordinated with the underlayment pour.
Available solutions
How to prep gypsum concrete for flooring installation
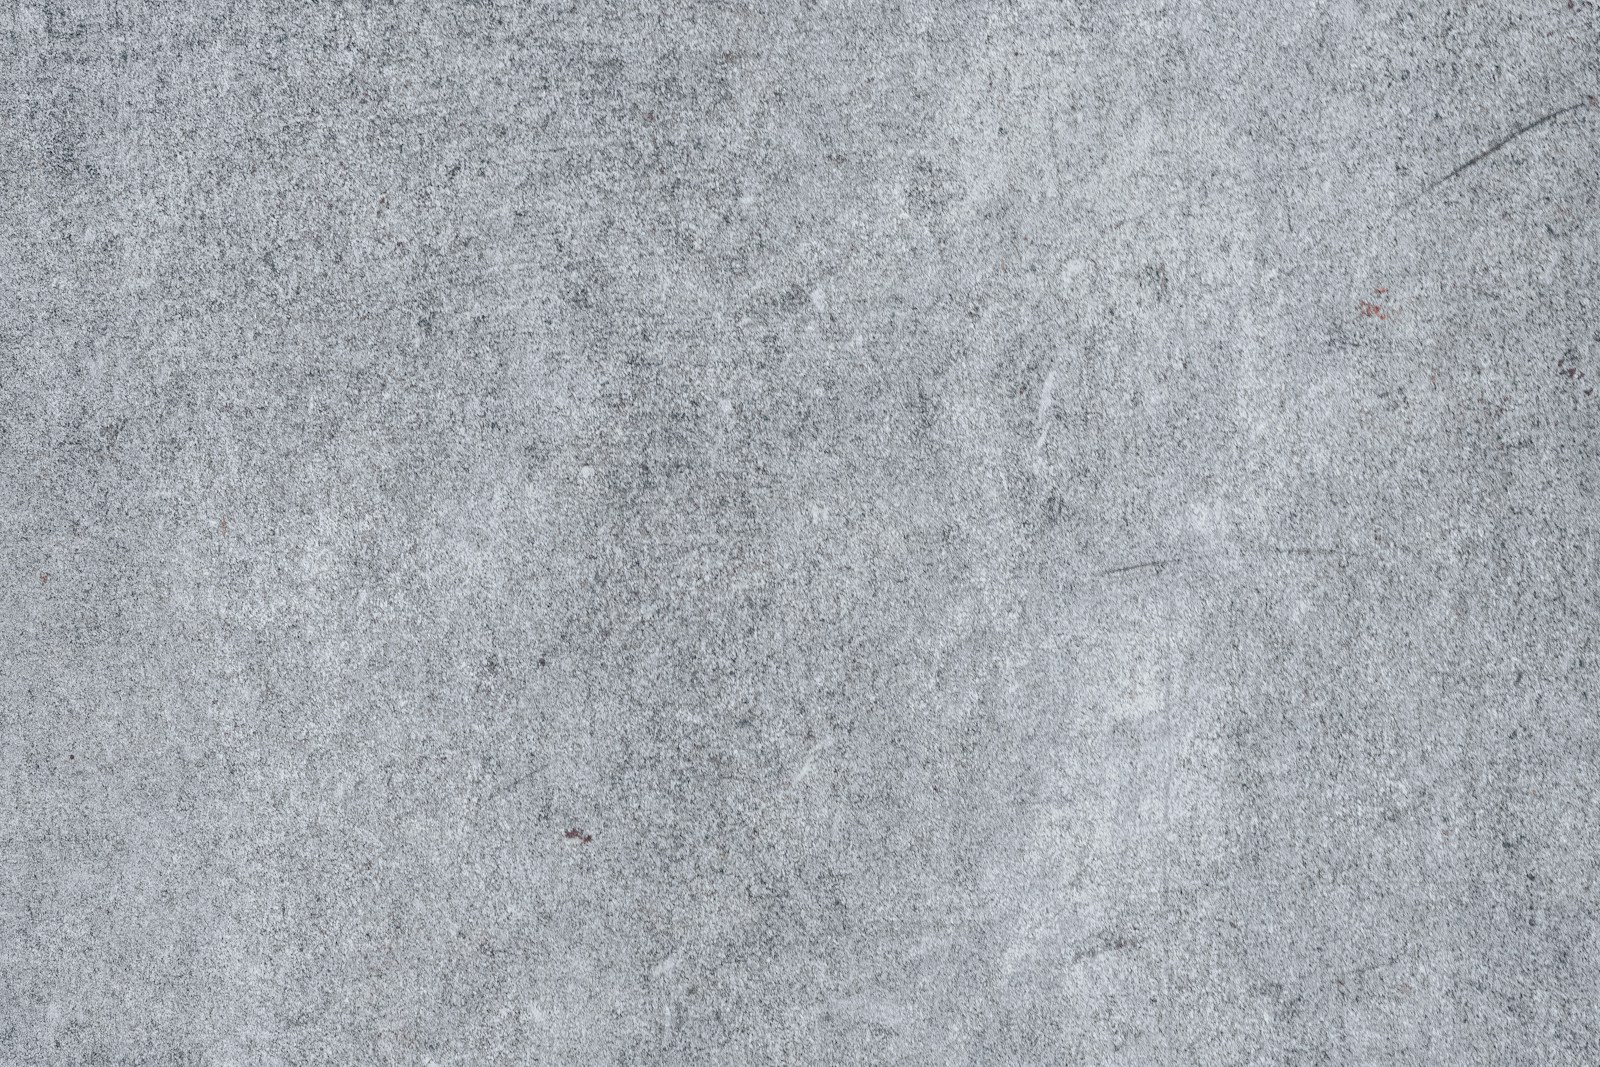
Installing flooring over gypsum underlayment requires different substrate preparation than working over concrete. The material characteristics affect our installation methods and material selection.
Understanding gypsum underlayment properties
Gypsum is softer and more friable than concrete. Cured gypsum provides adequate compressive strength for flooring applications (2,000–4,000 psi depending on the product), but it doesn't have concrete's surface hardness. Aggressive mechanical preparation methods used on concrete (grinding, scarifying, shot-blasting) can damage gypsum substrates.
The surface is often dusty and chalky. Gypsum underlayment installation occurs relatively early in the construction sequence, which means the surface accumulates drywall dust, paint overspray, mud from foot traffic, and general construction debris before we arrive.
4-step substrate preparation
- 01Thorough cleaningSweep, vacuum, and damp-mop. By the time we arrive, the surface carries drywall dust, paint overspray, and mud from foot traffic. No adhesive performs on a contaminated substrate.
- 02Primer applicationDrop water on the gypsum — if it absorbs quickly, there's no top coat and we need to prime. For vinyl plank and LVT over gypcrete, we typically use Armstrong S-185 or Mapei Primer L diluted 4:1. These primers seal the surface, control porosity, and improve bond strength.
- 03Patching and levelingUse only gypsum-based patching compound — Portland cement products react with gypsum and break down over time. Address divots, joint shadows, and pump-line marks before adhesive goes down.
- 04Moisture testingCritical and often skipped. Use a meter calibrated for gypsum, not concrete. Each adhesive manufacturer specifies acceptable moisture levels — verify before mobilizing labor.
Moisture testing & curing requirements
Gypsum underlayment contains significant moisture immediately after installation. The curing process involves evaporation and chemical reactions that gradually reduce moisture content to acceptable levels for flooring installation.
Manufacturers specify minimum curing times before flooring installation, typically ranging from several days to several weeks. Maxxon typically recommends 28 days for full cure, though light foot traffic is possible within 24 hours. Time-based estimates don't account for actual job site conditions — temperature, humidity, and ventilation affect curing rates significantly.
Compatible flooring types over gypcrete
| Flooring Type | Works Over Gypcrete? | Key Requirements |
|---|---|---|
| Vinyl plank / LVT | ✓ Yes | Proper primer + gypsum-compatible adhesive |
| Carpet / carpet tile | ✓ Yes | Spray contact adhesive or construction mastic |
| Ceramic / porcelain tile | ✓ Yes | Seal with Primer L, then Mapelastic HPG waterproofing |
| Glue-down hardwood | ✓ Yes | Seal gypsum first with gypsum-compatible adhesive |
| Nail-down hardwood | ✕ No | Gypsum too soft for fasteners — will powder and crumble |
Common gypsum underlayment problems and solutions
| Problem | Cause | Solution |
|---|---|---|
| Gypsum surface is chalky or dusty | Inadequate priming, moisture levels too high during installation, or incompatible adhesive used. | Prevention through proper moisture testing, correct primer application, and adhesive compatibility verification before installation. |
| Cracking or crumbling gypsum | Improper mix during installation, excessive moisture exposure, or inadequate curing before heavy traffic. | Repair damaged areas with gypsum-based patching compound (not Portland cement products). Extensive damage requires professional repair with pourable gypsum capping product. |
| Height transitions at door thresholds exceed ADA limits | Door frame installation timing not coordinated with gypsum pour. | Install transition moldings or use gypsum-based floor leveling compound to create compliant ramps. Better — coordinate door sequencing during preconstruction. |
| Flooring installation delayed due to insufficient cure time | Unrealistic construction schedule not accounting for gypsum curing requirements. | Advocate for realistic curing timeframes (typically 28 days) during project planning. Conduct moisture testing early to identify delays before they impact schedule. |
What this means for flooring contractors
For flooring contractors, the prevalence of gypsum underlayment in multifamily projects means developing expertise with these systems represents a competitive advantage and a necessity, rather than a specialized capability.
After 40 years installing flooring over gypsum underlayment in multifamily construction, I can tell you this: get the substrate right, or nothing else matters.
Frequently asked questions
How long does gypsum underlayment take to cure before flooring installation?
Can you install vinyl plank flooring over gypcrete?
What is the difference between gypcrete and gypsum underlayment?
Do you need to prime gypsum underlayment before installing flooring?
What causes gypsum underlayment to crack or crumble?
Can you install hardwood flooring over gypcrete?
How do you fix ADA compliance issues at thresholds over gypsum underlayment?
What moisture meter reading is acceptable for gypsum underlayment before flooring installation?
Owner & President. Leads overall strategy, operations, sales, financial oversight, personnel, and subcontractor management.